No Knead Bread
This post may contain affiliate links. Read our disclosure policy.
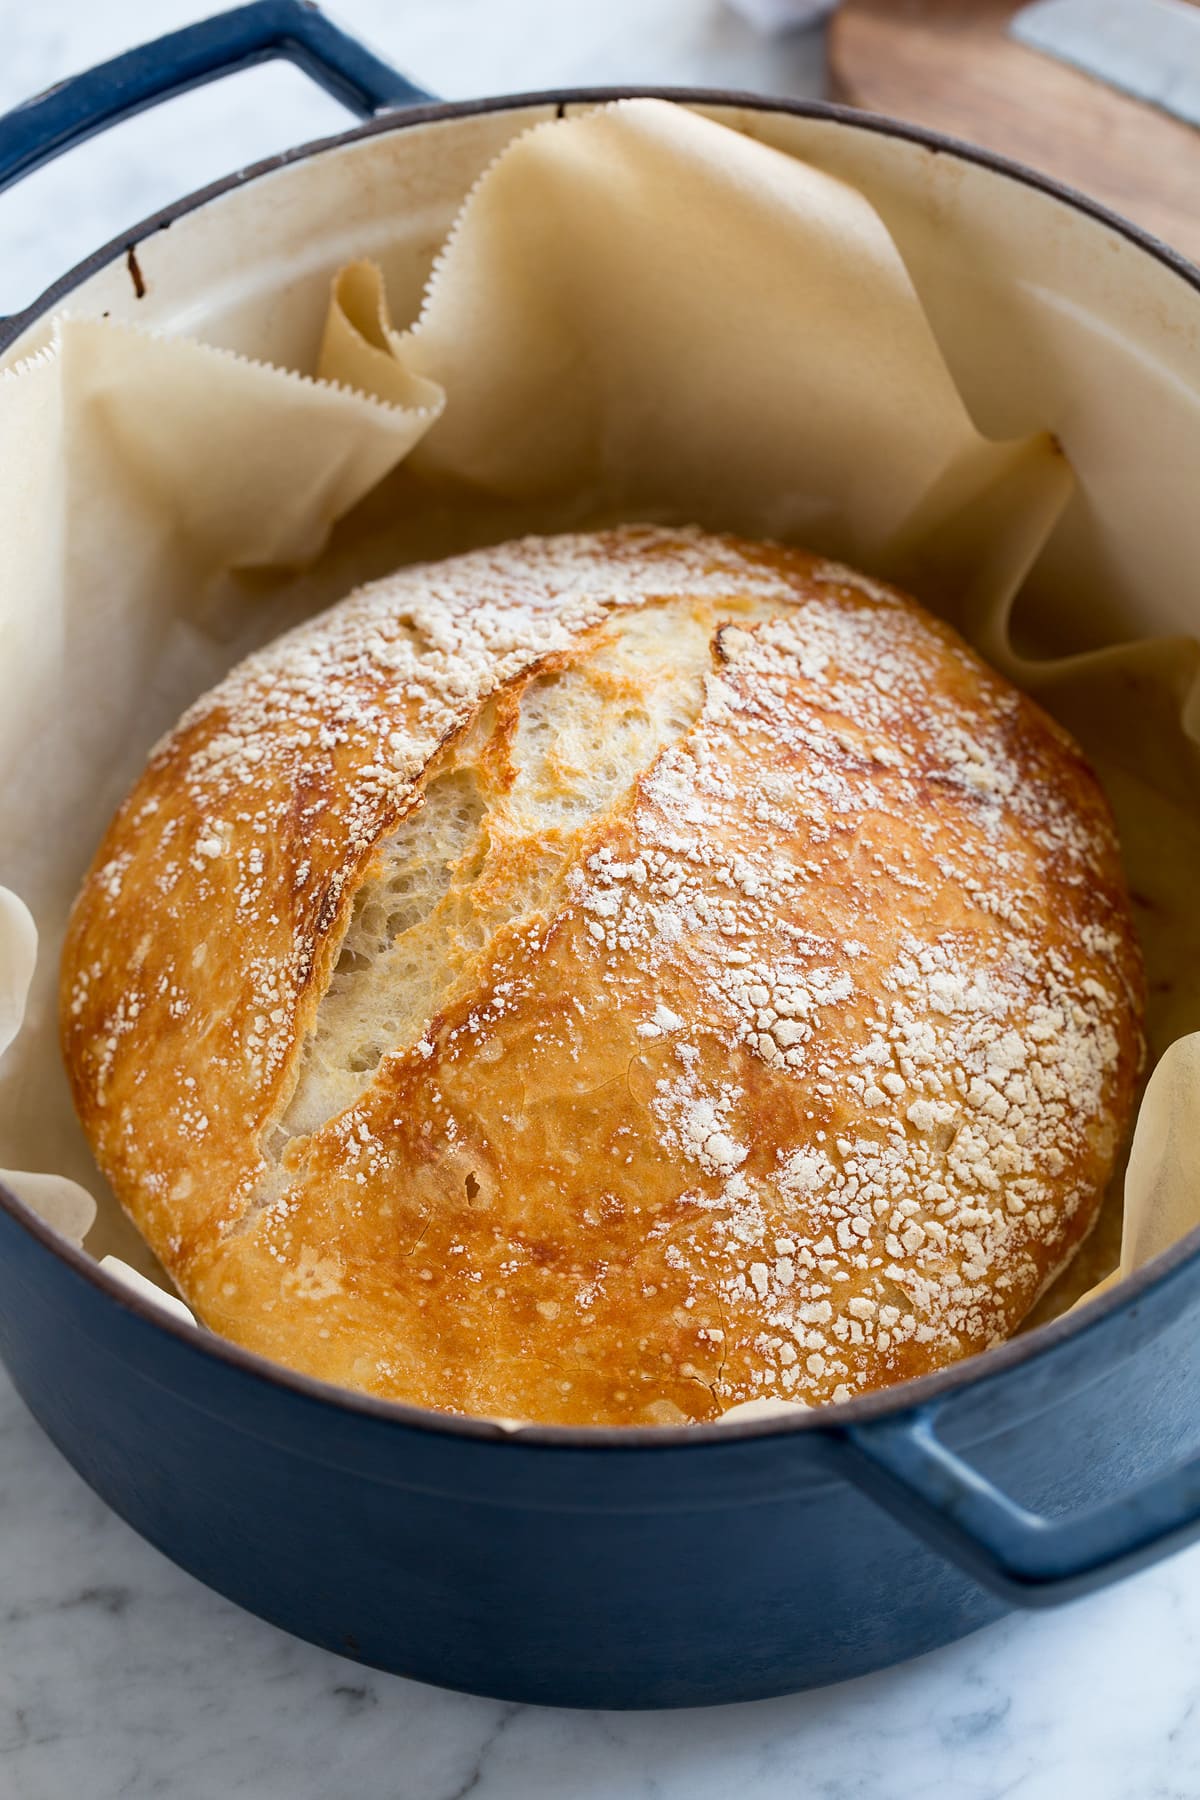
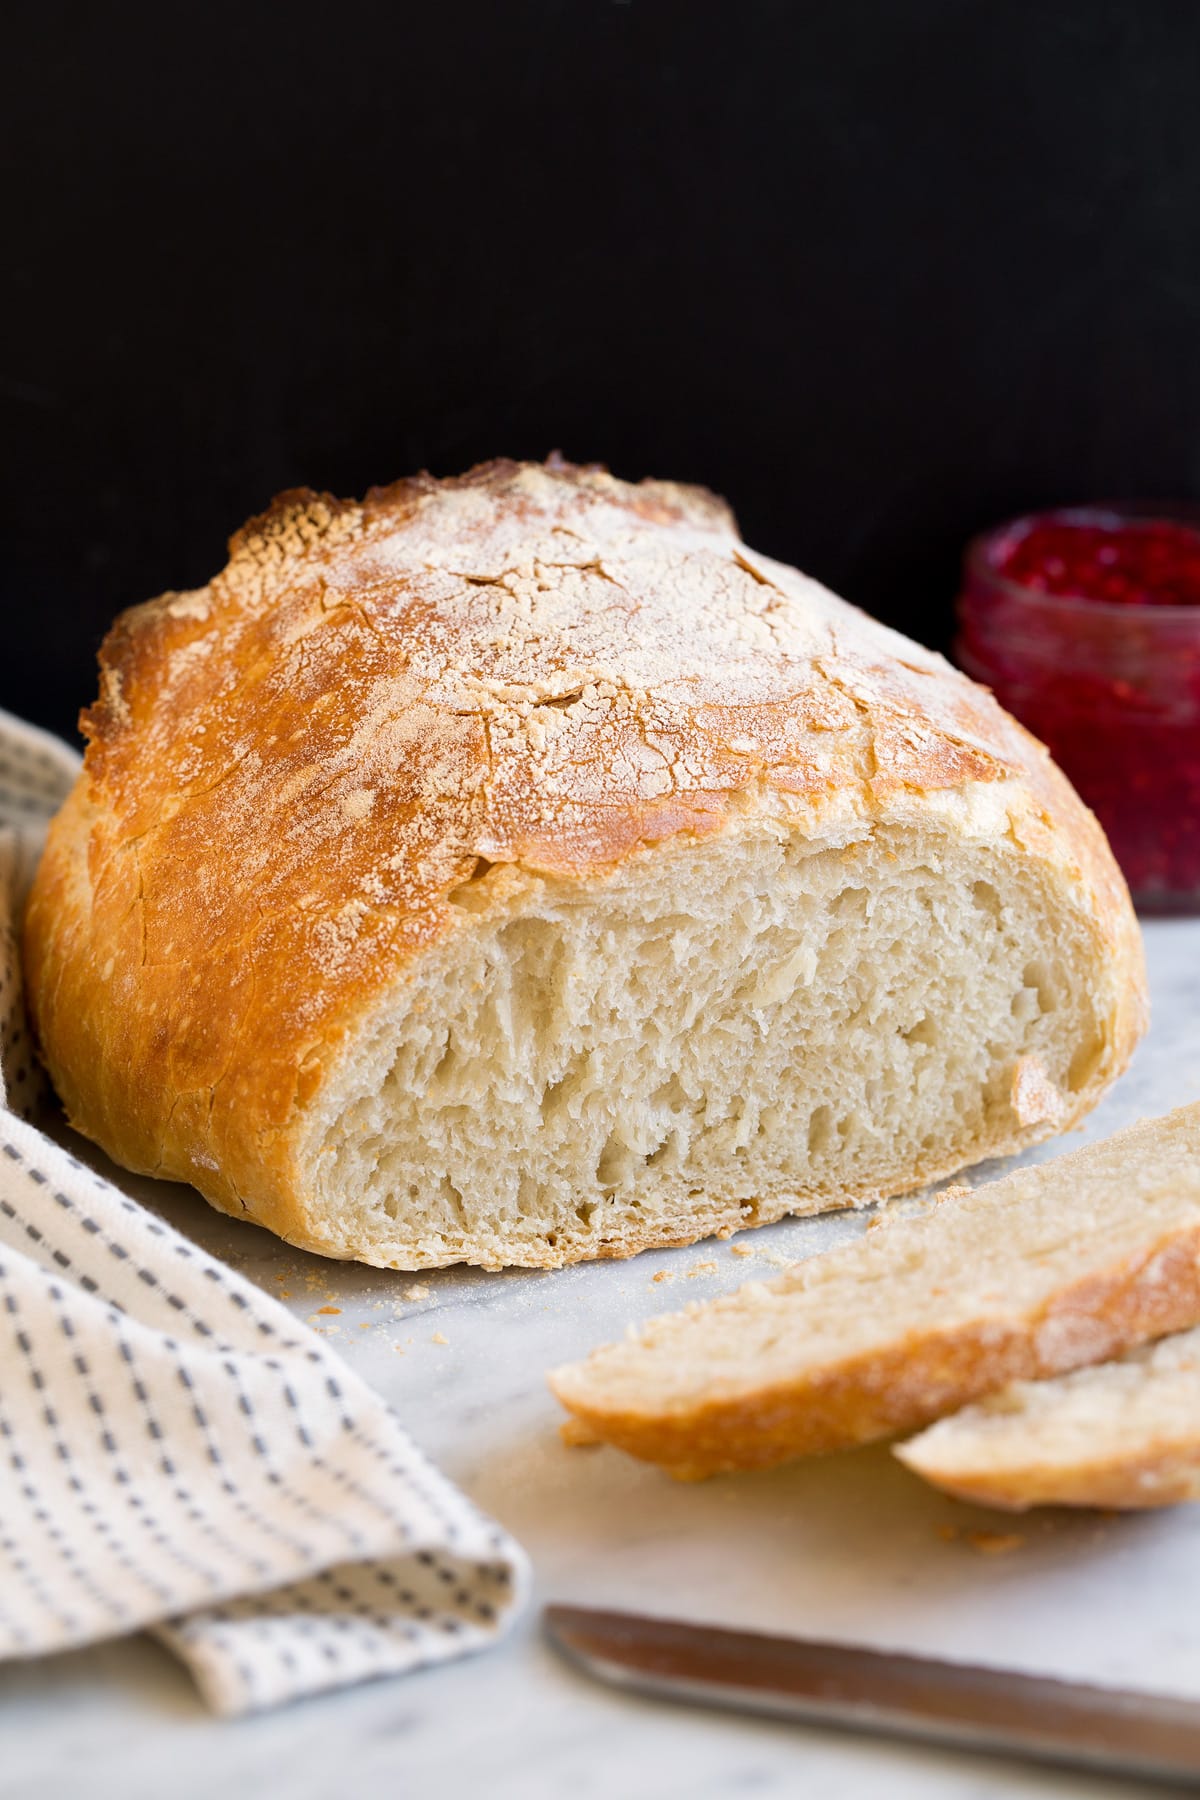
No Knead Bread – the easiest ever homemade bread recipe ever! Zero kneading required, just a quick mix, let the dough rest overnight then the next day it’s ready to bake.
Looking for more easy bread recipes? Try my 1-Hour Bread, or for a dessert option don’t miss out on my Banana Bread recipe (another family favorite and no mixer required!).
Easy No Knead Bread Recipe
This is easily one of the best loaves of bread I have ever made and it always disappears in no time! You’ll instantly fall in love after one bite!
It has a deliciously crisp crust and a soft chewy, moist interior. An artisan style bread made in the comfort of your own home from a dough that’s prepped in minutes!
It’s pretty miraculous really.
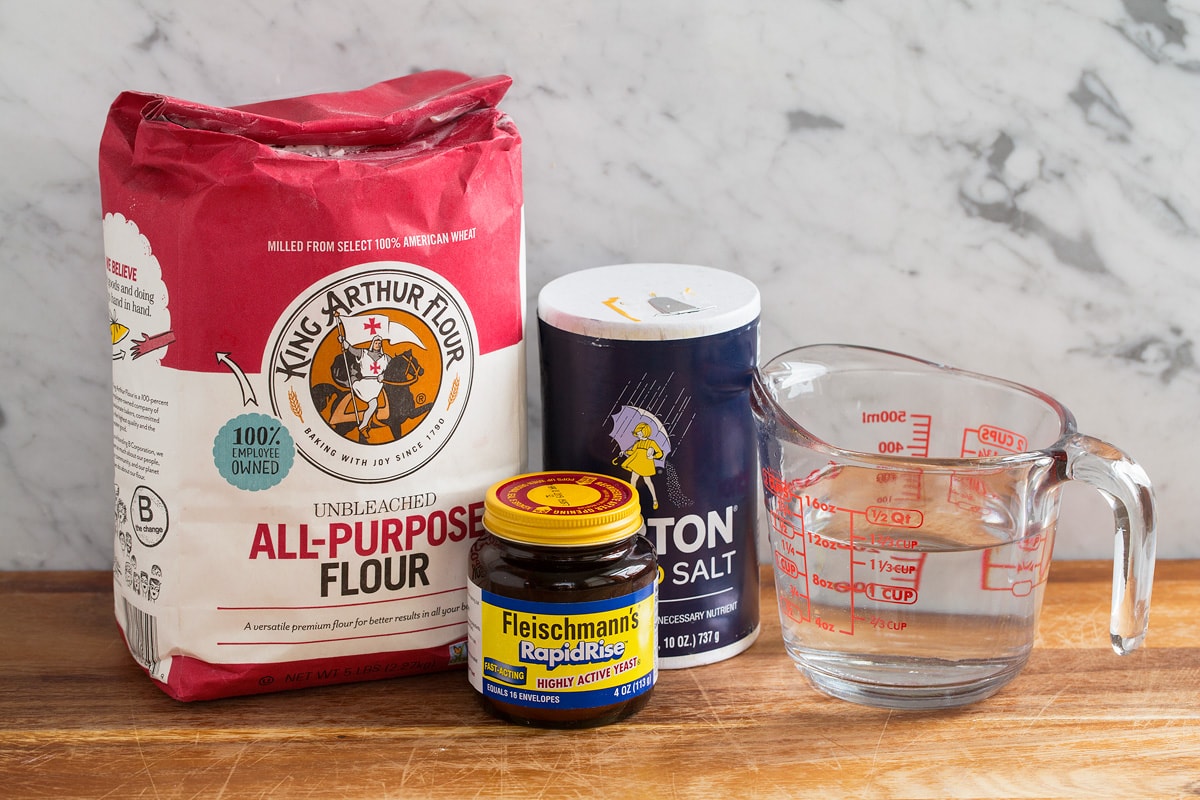
I can’t count how many times I’ve made it. Not only is it unbelievably easy and basically foolproof, but it only requires 3 pantry staples (and water) .
Who doesn’t love a good recipe with minimal ingredients? It’s also very inexpensive.
Just one of those back pocket staple recipes that you’ll quickly find yourself memorizing!
No Knead Bread Ingredients
- All-purpose flour: bread flour could be substituted if that’s what you have. Bread will just be a little more dense.
- Yeast: instant yeast, active dry yeast or rapid rise yeast can be used. No proofing first necessary.
- Warm water: I like to use a thermometer just to make sure it’s not too hot. If you don’t have one you can test by dabbing the water against your wrist, it shouldn’t be too hot.
- Salt: I just use regular table salt 1 1/2 – 1 3/4 tsp is what I prefer.
How to Make No Knead Bread
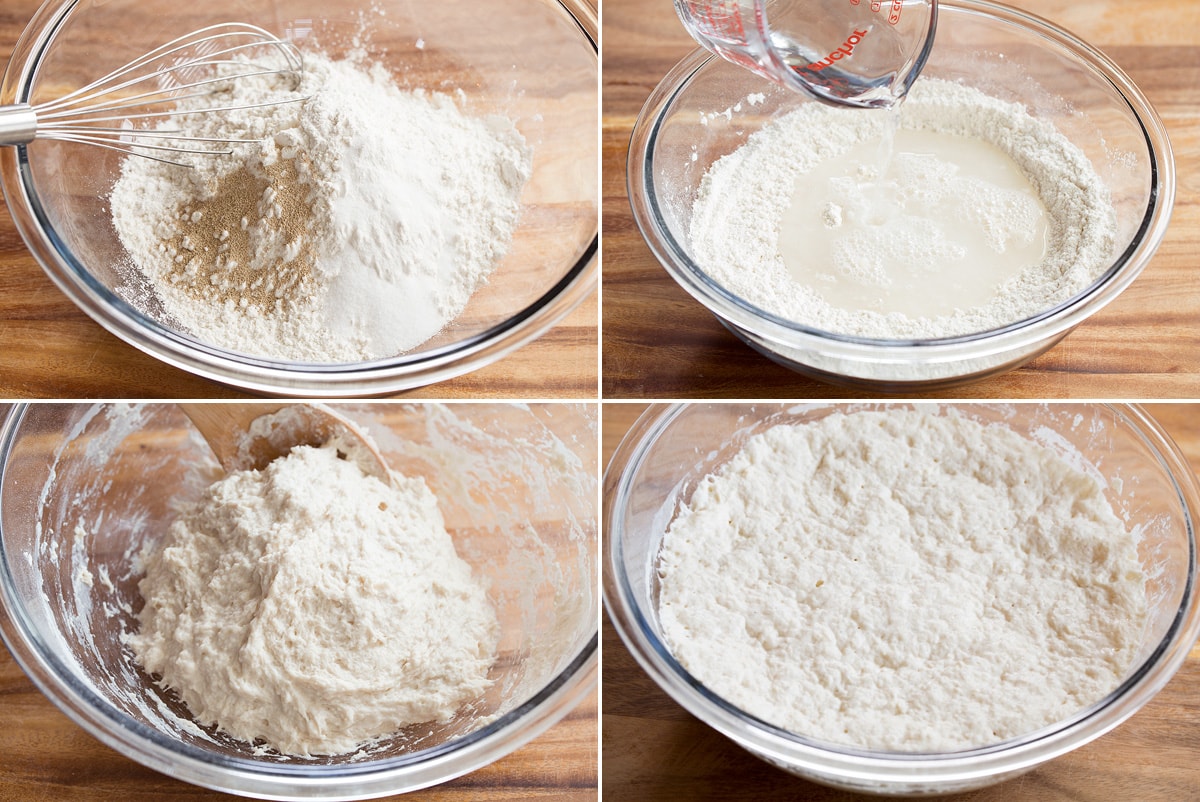
- In a large mixing bowl, whisk together flour, salt and yeast. Pour in warm water and stir mixture with a wooden spoon until a shaggy ball forms (you can add a little more flour if you feel it needs it).
- Cover bowl with plastic wrap and allow to rise for 12 – 18 hours.
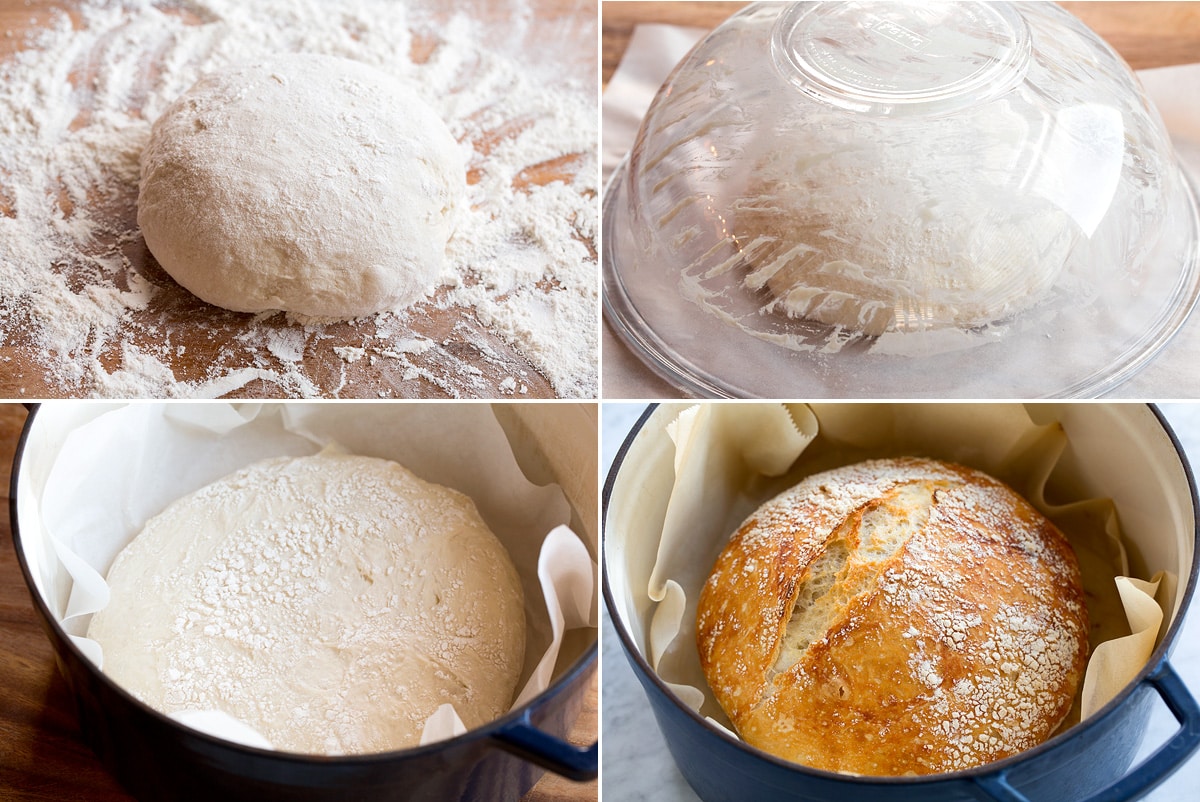
- Heat oven to 450 degrees. Once oven has reached 450 degrees, place a cast iron pot covered with lid into preheated oven, heat pot for 30 minutes.
- Meanwhile, turn dough out onto a well floured surface then shape dough into a ball (I like to set on parchment paper heat resistant to 450 for easier transferring, which you can place right in the pot, but this is optional).
- Cover dough with an extra large bowl and allow to rest while pot is heating.
- Remove pot from oven and with floured hands or holding ends of parchment paper, carefully drop dough into hot pot cover with lid, then immediately return pot to oven and bake 30 minutes.
- After 30 minutes, remove lid from pot and bake uncovered for 12 – 15 minutes.
- Let cool.
Can I Use Whole Wheat Flour?
All whole wheat flour can be used but loaf will be very dense, instead I recommend using half whole wheat flour and half white flour a better texture. I also recommend adding a little honey and a little extra water (as mentioned in the recipe notes).
Can I Bake Using Something Else Instead of Cast Iron Pot?
If you don’t have an enameled cast iron pot it can also be baked a baking sheet. To do so:
- No preheating the baking sheet is necessary.
- Use parchment paper and shape loaf into an oval shape instead of a round.
- Bake about 25 – 30 minutes, vs. time listed.
Tips for Perfect No Knead Bread:
- Don’t use water over 120 degrees or you may kill the yeast and bread won’t rise.
- Allow enough time for dough to rest, plan on at least 6 hours or up to 18 hours. I like to begin making the dough at night.
- Let bread cool, at least a little while before slicing otherwise bread just falls apart.
- If you want bread to maintain a crisp exterior to the following day you can store in a paper bag. I prefer an airtight bag though just so loaf doesn’t dry.
What to Serve with No Knead Bread:
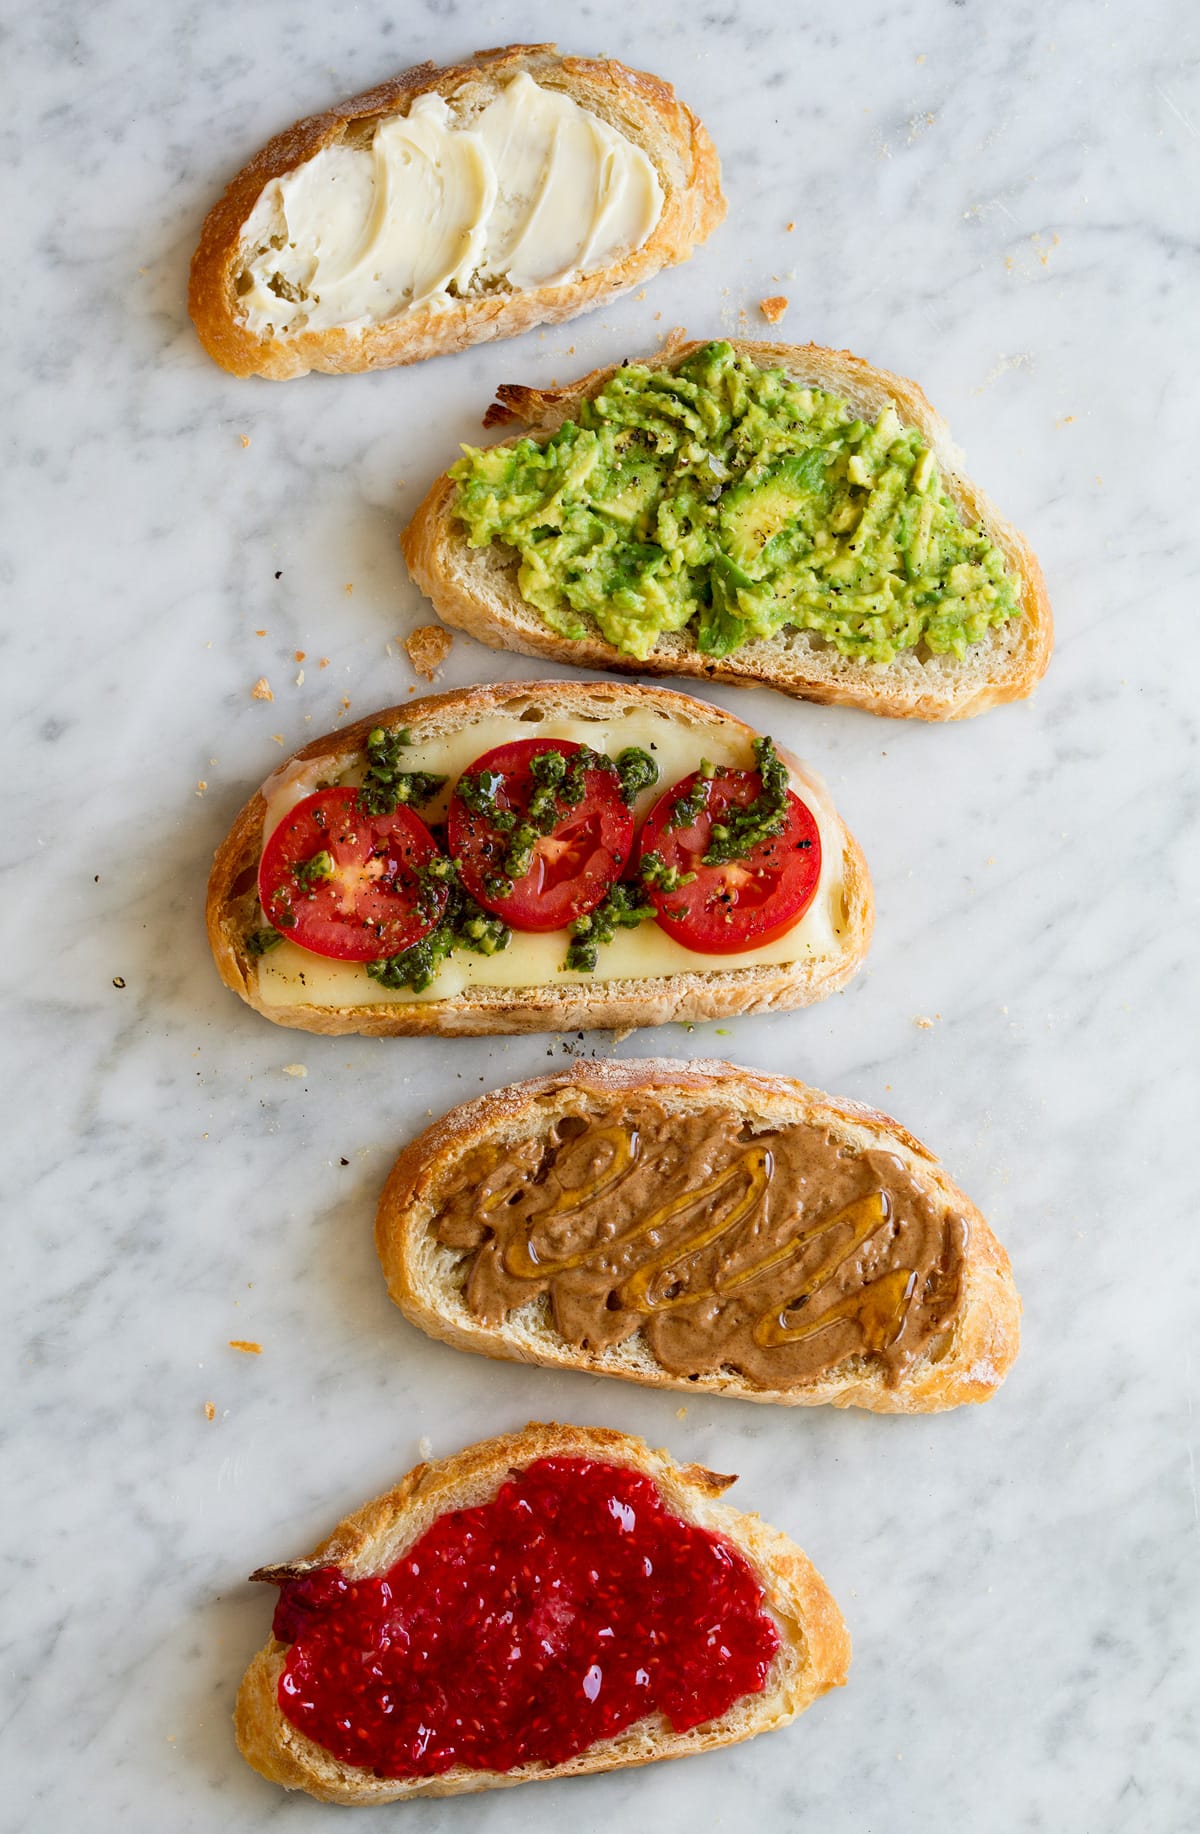
- Butter (of course!) or homemade raspberry freezer jam.
- Cheese (melted with tomatoes and pesto is the best!).
- Mashed avocado, olive oil, salt and pepper (toast bread first).
- Almond butter or peanut butter and honey.
- Make a sandwich or panini.
- Soup (for dipping obviously).
Soups for Pairing
Follow Easy Cooking Zone
No Knead Bread {Rustic Artisan Style}
Ingredients
- 3 cups (15 oz) all-purpose flour (preferably unbleached, scoop and level to measure)
- 1 1/2 tsp salt
- 1/2 tsp active dry yeast, instant yeast, or rapid rise yeast
- 1 1/2 cups warm water (about 110 degrees)
Instructions
- In a large mixing bowl, whisk together flour, salt and yeast. Pour in warm water and stir mixture with a wooden spoon until a shaggy ball forms (you can add a little more water or a little more flour if you feel it needs it).
- Cover bowl with plastic wrap and allow to rise for 12 - 18 hours (on the counter at room temperature).
- Heat oven to 450 degrees. Once oven has reached 450 degrees, place an enameled cast iron pot covered with lid into preheated oven, heat pot for 30 minutes.
- Meanwhile, turn dough out onto a well floured surface, or onto a floured sheet of parchment paper (oven safe to 450) then shape dough into a ball. Cover shaped dough with an extra large bowl and allow to rest while pot is heating, about 30 minutes.
- Remove pot from oven and with floured hands, or holding the corners of the parchment paper, carefully drop dough into hot pot (you don't need to grease the pot). Immediately cover with lid, then return pot to oven and bake 30 minutes (at 450 degrees).Â
- After 30 minutes, remove lid from pot and bake uncovered for 12 - 15 minutes until nicely golden brown.
- Remove from oven and allow bread to cool on a cooling rack before slicing.
Notes
- If you'd like bread to maintain a crisp crust then store in an opened paper bag, for a moister loaf store in an airtight container.
- I've made a wheat version of this using 1 1/2 cups whole wheat flour, 1 1/2 cups white flour, 1 tsp salt, 1/2 tsp yeast, 2 Tbsp honey combine with 1 1/2 cups warm water (or use a little more if needed) and rise and bake according to directions listed. Delicious!
- Recipe adapted from Jim Lahey's recipe via NYT.
